Justin’s Basic Drivetrain Maintenance Guide, Part One: Quick And Dirty Chain Lubrication.
Hello there! Welcome to Justin’s Basic Drivetrain Maintenance Guide, Part One: Quick And Dirty Chain Lubrication.
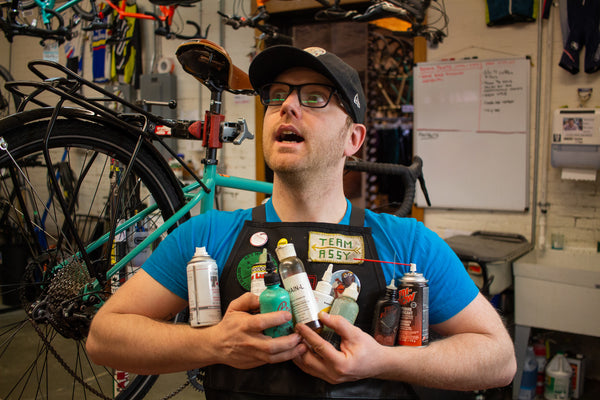
First off, allow me to introduce myself: My name is Justin and I'm the service manager here at Ascent Cycles. If you’d like to know a little bit about me, stroll on over to our Meet The Staff page or come on by the shop and say hello.
Ok, now that we’ve made it through the introduction portion, let’s get down to brass tacks…
Quick And Dirty Chain Lubrication!
Why quick and dirty? Well, a very quick wipe down lube up job on your chain can make a world of difference in how your bike rides, performs, and sounds (especially through these gloomy Seattle winters when there is water, mud, and crud seemingly everywhere). Later on in this series, we’ll dive into some of the finer points of chain care and all of this, but for now, the important things to keep in mind are:
- Cleaning and lubing your chain will help prolong the life of your drivetrain (aka chain, cog set, or the gears in the back, and chainrings, or the gears in the front) and prevent premature wear.
- A lubricated chain will run more smoothly due to reduced friction thus making your pedaling and shifting more efficient.
- Lubed chains are quiet and quiet is good because no one wants to feel like they’re being chased by thousands upon thousands of tiny chirping birds for an entire bike ride.
You also might be wondering how often your chain should get lubricated, and the long answer begins with that it all depends, but the short answer is this:
- If you ride all the time in the rain, lube your chain every one to two weeks.
- If you ride mostly in the dry times, lube your chain every two to three weeks or after any rides where you are caught in the rain.
As with all things bicycle related, there are all kinds of variables but, again, we’ll save those for another time.
So now that we’ve got some of the basic questions out of the way, it’s time to LUBE THAT CHAIN!
Gather your supplies:
- Two clean rags
- Your bicycle specific chain lube of choice (Not sure which one to use? Come on by the shop and we can help you pick out the right chain lube for your riding needs!).

- A repair stand or a spot with enough room for your to lean your bike and turn the cranks backwards
- A nice hand scrub to get any grease off your hands once you’re done

And now, it’s off to work!
- Take one clean rag in your left hand and hold it around the lower section of chain while turning the cranks backwards with your right hand five to eight times. This will clean off a decent amount of the accumulated gunk and old lube from your chain. If your chain is especially dirty, you can use different spots of the rag to remove as much gunk as possible.


- Take your bicycle specific chain lube and aim it at the chain where it comes in contact with the rear cog set. Apply a modest amount of lube while turning your cranks backwards. Make sure the lube gets between the rollers and the plates... the rollers being the little round things and the plates being the inner and outer pieces that make up the links (see photos below). Three to five turns of your cranks should be enough to get the proper amount of lube distributed on the chain. Any more and you’ll be at risk of using too much lube, and too much lube is a bad thing… but we’ll get into that another time.


- Take the second clean rag and, just like you did in step one, wipe the chain down, spinning the cranks five to eight times. If you see drops of lube flying off and landing on the chain stay (see second photo below), you’ll know there's too much lube on the chain. This is when, as in the first step, you'll use different clean spots on the rag to keep removing the excess.


- Your chain is now lubed quick and dirty style! Now it's time to take that hand scrub and a little dish soap and wash your hands.


Woo! Now you’re ready to roll smoothly and efficiently throughout your day!
Thanks for stopping by and reading this, and as always, if you have any questions about what we talked about here, come on by the shop or drop us an email. We want your bike to run all quiet and smooth and are here to help!
Be sure to tune in next time for Justin’s Basic Drivetrain Maintenance Part Two: Checking Your Chain And Gears For Wear.

